
If you are new to the idea of poultry nipple drinkers and want to level up your knowledge, this guide is for you.
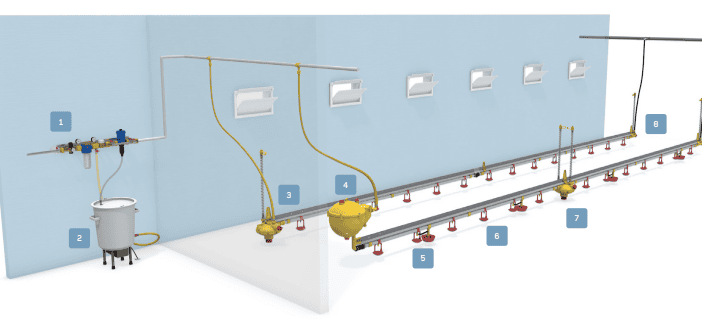
Diagram of a poultry nipple drinker system (overview)
1. Mains water supply
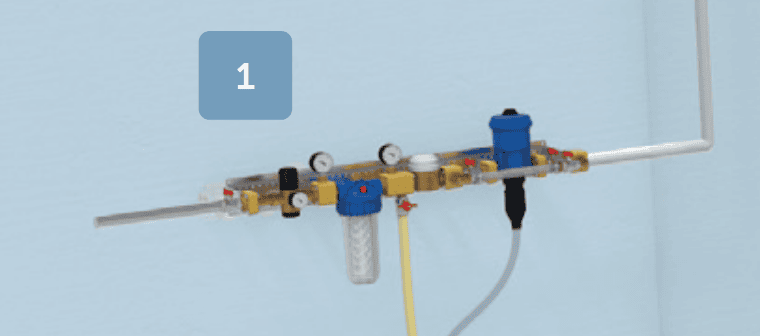
This is where your poultry farm’s main water supply enters the nipple drinker system. This unit offers physical and chemical quality control over the water input. It ensures the optimal conditions for peak performance are achieved at the source.
- Water should be drinking water quality
- Must be filtered
- Connects to the pressure regulator / ball tank
- Variety of configurations and diameters to suit your main water system
- in-built measures for monitoring water quality
- in-built filters for removing particulates
- in-built test for chemical quality indicators
- in-built doses for sanitisation
2. Mixer
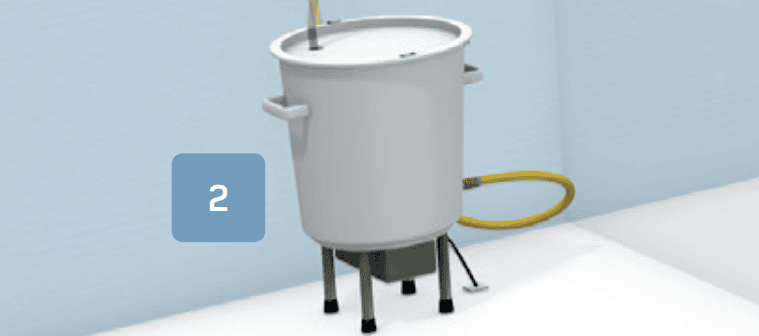
This is a drum in which the water entering the system is mixed with additives. Constantly mixing the water to ensure even distribution of additives.
- Vitamins
- Medicines
3. Pressure regulator and auto-flush
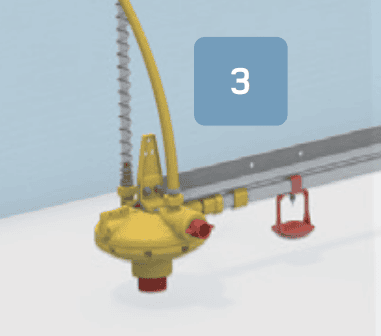
Provides finite control over the water pressure delivery through the drinker system. It also provides the force to flush out the system for cleaning.
- Can be adjusted
4. Ball tank
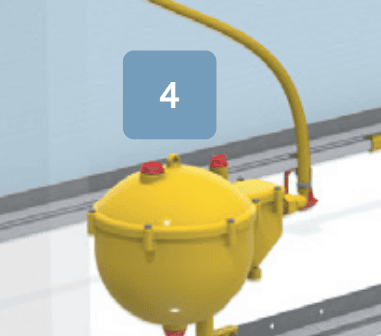
An alternative to the aforementioned pressure regulator.
- Maintains a constant water pressure
- It is also integrated with a flusher
5. Starter cup
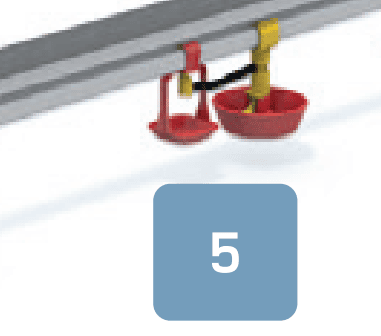
This is a growth accelerator at the end of the broiler rearing phase and an aid for reaching target weight.
6. Drinking nipple
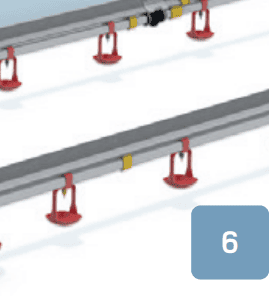
Easy, on-demand, controlled distribution for birds from Day 1 to the processing date. Inviting day-old chicks with a glistening water droplet, encouraging water intake from farm arrival from the hatchery.
- Cup attachment – prevents waste and indicates pressure
Configuration
- Stamped: lower cost, but (a) are prone to leaking and (b) are difficult for day-old chicks to activate.
- Turned: higher cost, but (a) less leaking and (b) easier for young chicks to activate.
7. Slope regulator
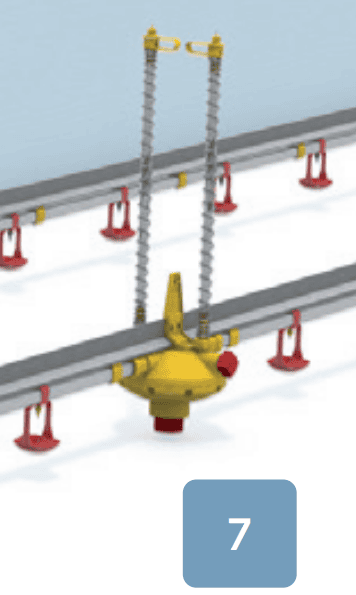
Provides water pressure correction where there is a slope in the ground level.
- Adjustable from 10 – 45 cm
8. Flush breather unit
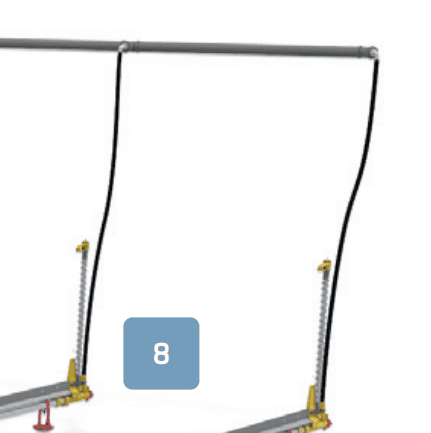
Makes flushing easier – reducing work via a valve-operated automated mechanism.
Nipple drinker operational tips
Drip trays
Using drip trays (cups) has two advantages:
- Prevent moist litter: minimise bacterial growth in the barn
- Visual water pressure indicator: moist drip tray = water pressure is correct, full drip tray = water pressure is too high & dry drip tray = water pressure is too low.
Types of nipple drinkers
There are both low-pressure and high-pressure nipple drinkers:
- Low pressure: flow rate of 50 to 60 ml/min (1.7 to 2 fl oz/min) – used without drip tray, pressure is adjusted to optimise flow rate. 10 birds per nipple (recommended).
- High pressure: flow rate of 80 to 90 ml/min (2.7 to 3 fl oz/min) – produces water droplets at the end of the nipple and therefore uses a drip tray or cup to catch excess. 12 birds per nipple (recommended).
Optimal distribution of nipples per bird
Plan the distribution of nipples so that the maximum distance a bird should have to travel to reach one is 3 meters (10 feet). In other words, each bird should be no more than 3 meters (10 feet) away from water.
Pressure and water consumption
It is important to understand the relationship between water pressure and consumption.
Optimal water pressure ensures optimal delivery to the nipples. BUT higher water pressure doesn’t automatically mean your birds will drink more.
However, sub-optimal water pressure in a nipple drinker system can significantly reduce the consumption of water amongst your flock. Where water pressure is too low, birds need more time at the nipple to consume ample volume; however, habitually they will only spend the same time drinking – therefore, they will naturally consume less water, without compensating by behaviour.

Leave a Reply